If you’re like me, you are frequently tweaking stuff on your car trying to make it perform the best that it can. A large part of how a car performs lies in its suspension setup. Most of the time when you change something with the suspension it is suggested that you get an alignment. This is annoying for three reasons; It can be a hassle scheduling and getting to an alignment appointment, it can get expensive over time, and most shops really aren’t equipped or trained for aftermarket suspension components. This post will be a walkthrough on how to align your car without going to a shop.
Materials:
There are a few things that we will need before we start. Initially, the cost to buy these parts will be higher than having an alignment done, but when you can use these parts for years they quickly become worth it.
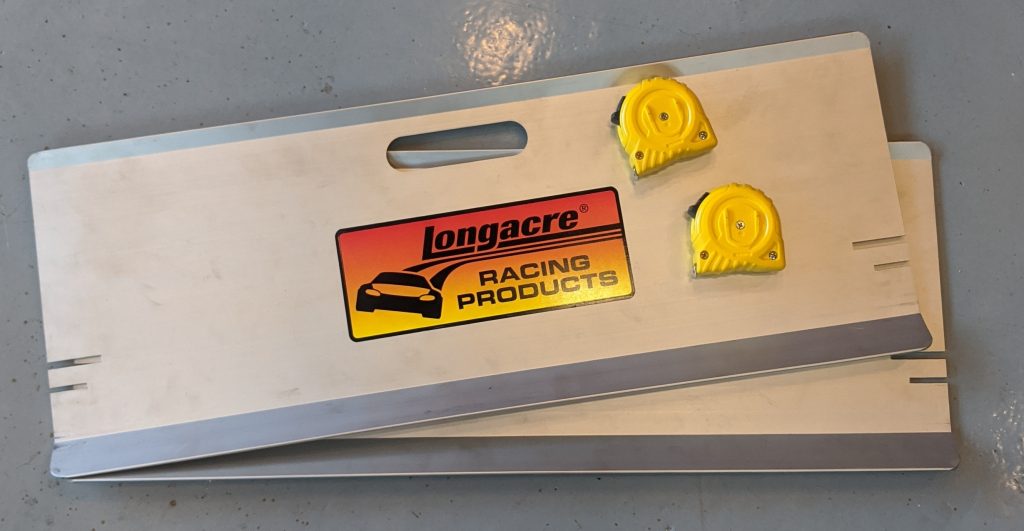
- Toe Plates: These are super simple. They basically are flat sheets with slots cut in them. you rest the plates against the outside of the left and right side wheels. You measure the difference from the front edges of the plates to the back edges of the plates to get your toe measurement. You can also approximate your track width with these.
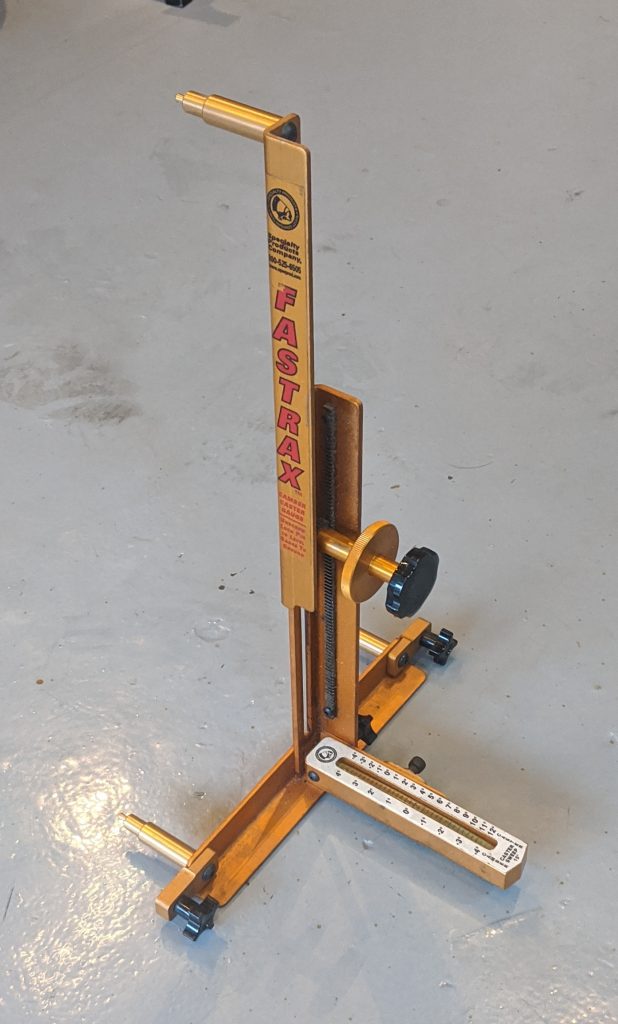
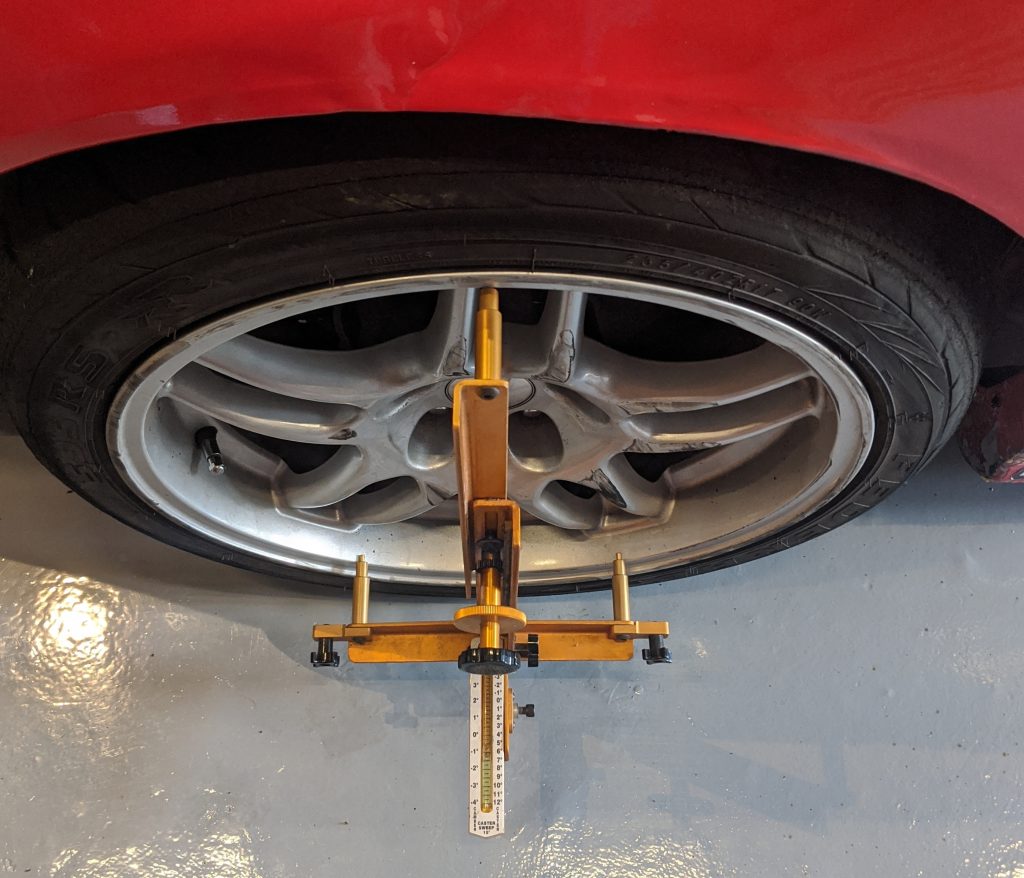
- Camber/Caster gauge: This part is a little more pricey than the toe plates. It’s basically a bubble level. You zero the level on the ground next to your wheel and then attach this to your wheel to determine the angle difference between the ground and the wheel. You could make something that would work similarly using a straightedge and an angle finder.
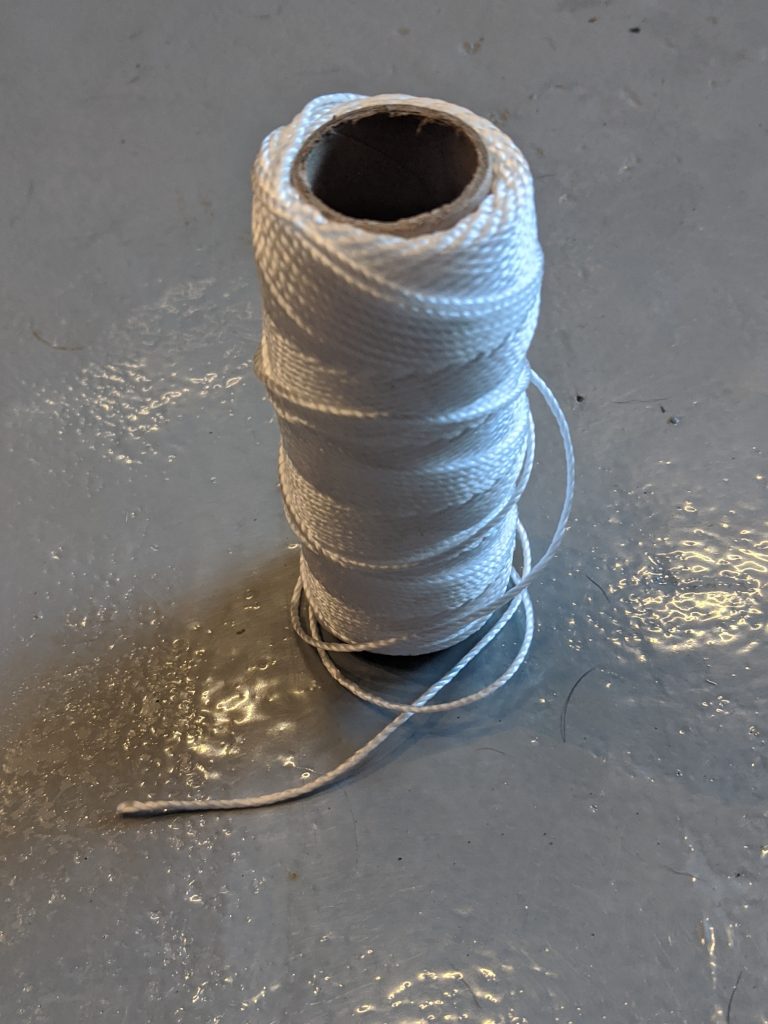
- String: We will use this to define a reference for toe relative to the car. Most thin string will do, you can grab some at a hardware store. This is #18 mason line.
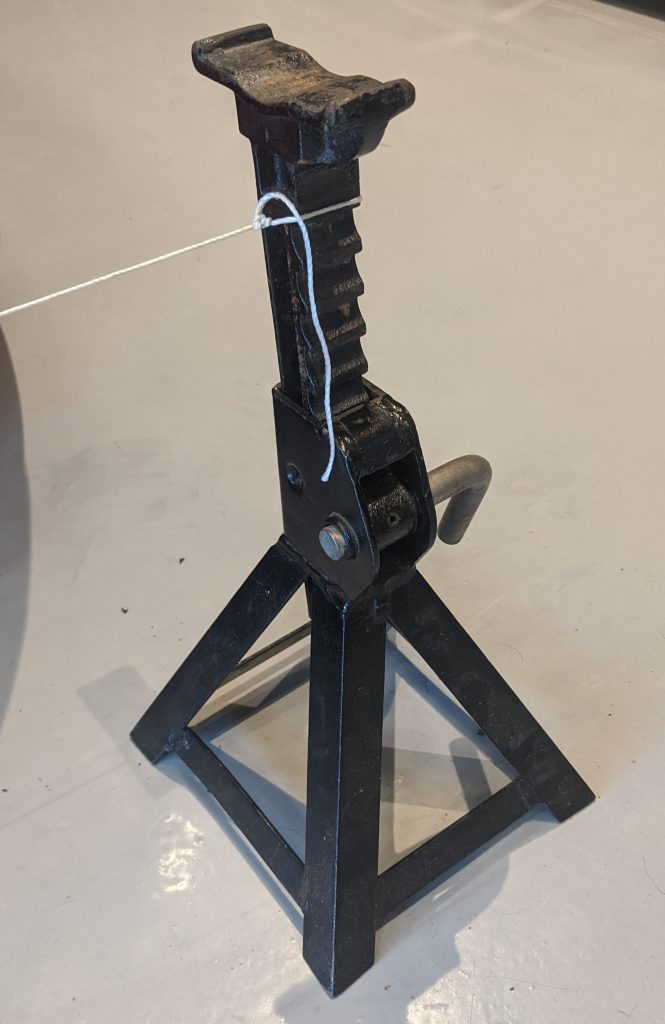
- Jack stands (4x): Something to pull the strings over. These don’t have to be jack stands, but they are convenient. I hope everyone has them if they are working under their car.
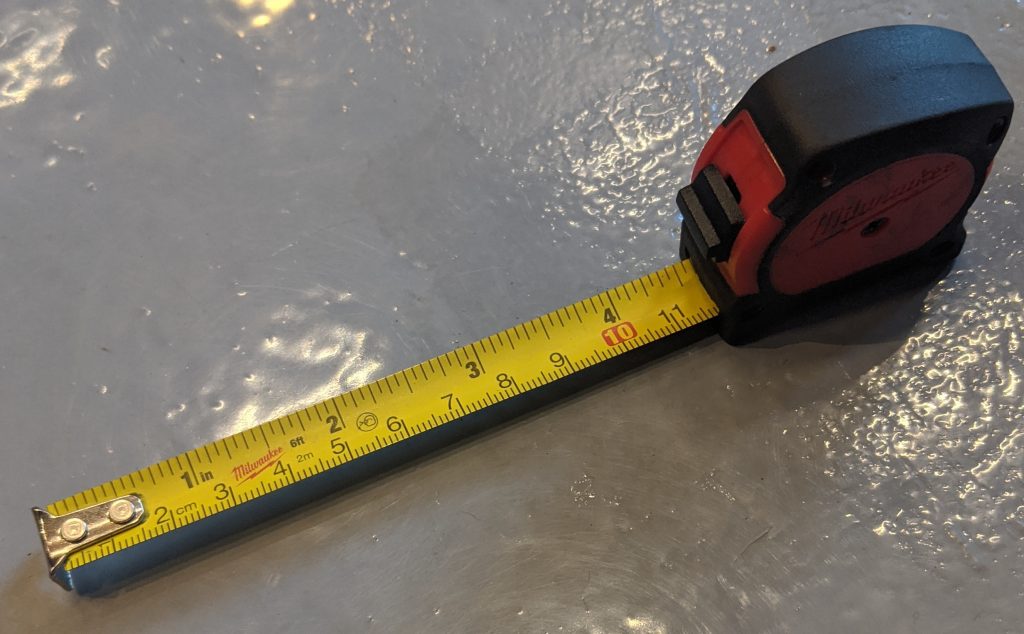
- Tape Measure: Usually toe plates come with 2, but I like to have an extra one so I don’t have to fiddle around with the toe plate setup. I prefer to use a tape measure with imperial and metric units. Most of the time toe is measured in inches, but for me metric is easier to read and is more intuitive for in the head calculations.
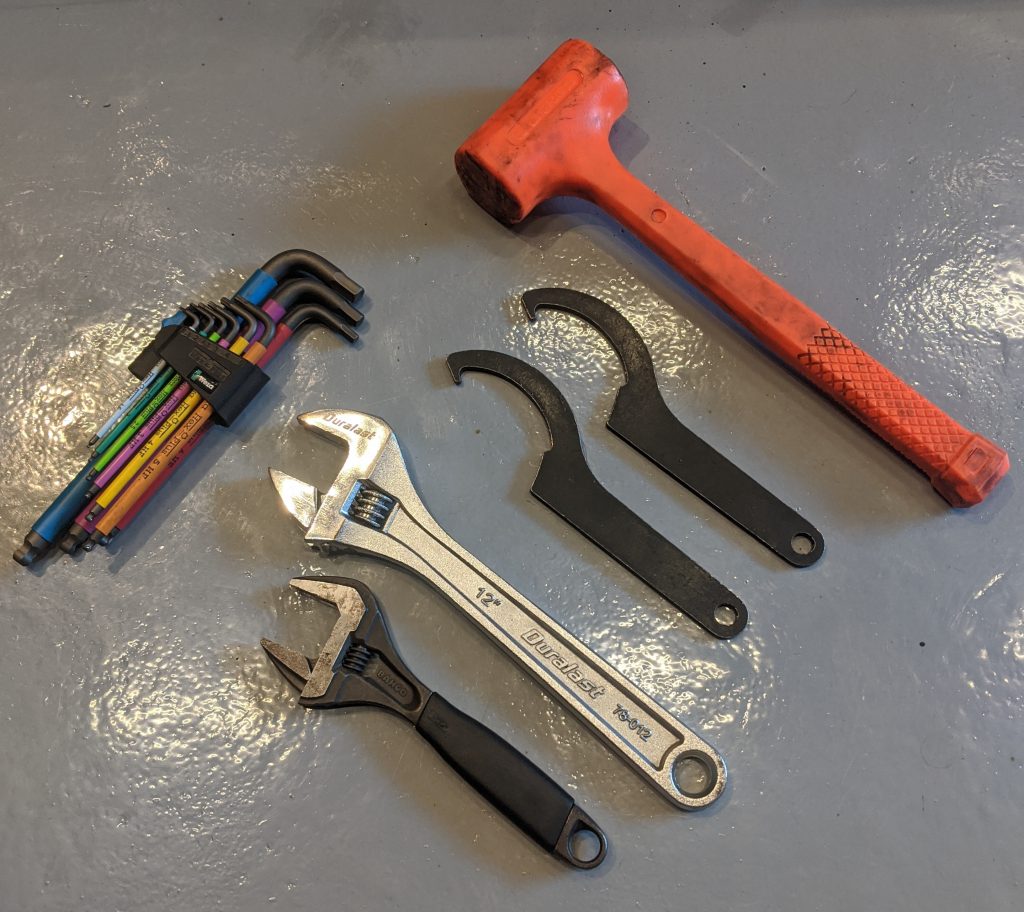
- Adjuster tools: This is a bit different for everyone, but I use the coilover spanner, 2 adjustable wrenches (I recommend a thin stubby one), an Allen key, and a rubber mallet (for persuasion).
- Paint pen (Bonus points): Once you’re done with adjustment, mark the adjusters with a paint pen so you can tell if they’ve moved.

Let’s start:
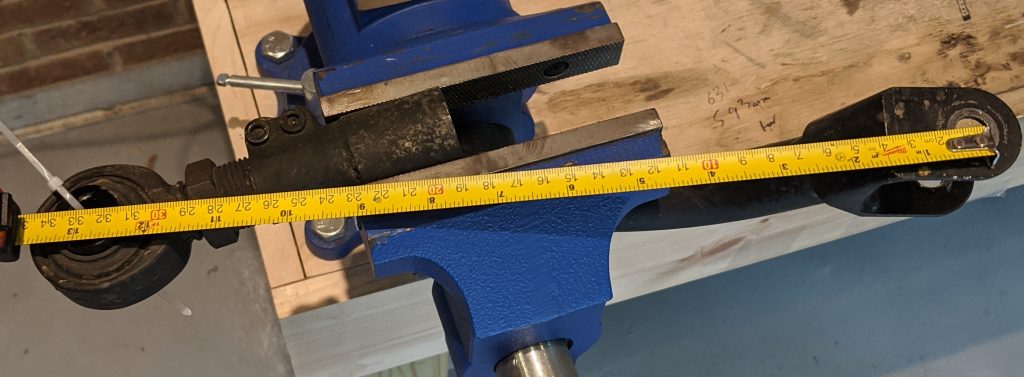
Generally, the order to adjusting the alignment is camber, caster, and then toe. This is because generally camber affects toe much more than toe will affect camber. Before even touching the alignment, I like to make sure that the car is level left to right and the parts that aren’t adjusted for alignment are all equal. For these pictures I’m working on a 240sx, so making sure that the lower control arms and traction rods are equal is a good start. On an e46/e36 chassis, making sure the rear upper control arm, and front lower control arms are equal and in the same spot are a good start. Every car is a little bit different. You can use calipers (the measuring kind), or a fancy metric tape measure. Try to clean the parts beforehand and try to at least have one common reference point per arm that you can hard stop against.
Next, let’s adjust the ride height (If you have this adjustability). This process can be tedious because the car sometimes behaves in a strange way. If you think about a 4 legged stool if one leg is too short that leg isn’t touching the ground so there is no load on it. Now if we put each of those legs on springs, the long leg springs will take some load and compress The short leg spring will eventually get some load and compress too. All the legs would be touching the ground, but loads on each leg wouldn’t all be the same. When we adjust our ride height we essentially are changing the lengths of the legs on our stool. So if the right rear is a little lower than the left rear and you adjust it to compensate, the front ride heights will change a bit because you are pushing down on the right rear spring a little earlier. The other springs shift how much they are lifting the car up because they don’t have to do as much work. There are more things at play here (sway bars and weight distribution), but I hope this is a helpful analogy. Find a common reference point for left/right on both the front and back and spin your coilovers up/down to make them equal.
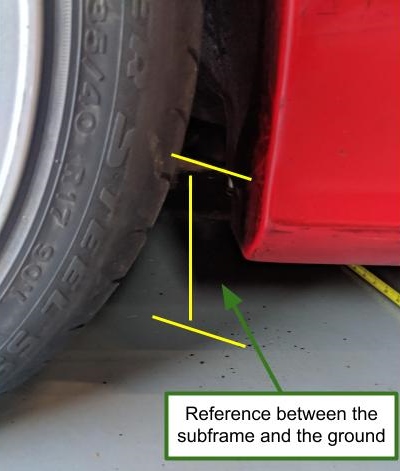
It usually takes 2 passes, one pass front/back for large adjustments, and then another to fine tune it in. If your car has been corner balanced don’t adjust the ride height. Corner balancing is basically putting scales under the legs of our sprung stool and directly measuring the load on each leg. Because of stuff not talked about (weight distribution), the ride height might not be equal to get desired static loads on the tires from corner balancing.
Tip: I like to measure the pitch on the coilover (mine are 2mm/turn) so I can just measure the difference left and right (6mm for example) and then spin the coilovers as many turns (6mm / 2mm/turn = 3 turns) as I calculated.
Camber:
This is pretty straightforward. One thing that you will need to be aware of is your reference plane. All 4 wheels are sitting on the ground (hopefully), so the ideal reference would be a plane drawn through the points where the center of the contact patch meets the ground. To effectively use this, the ground has to be relatively flat. If not, the small spot on the ground you are using to zero your gauge might not be the same as the car’s ideal reference plane. Don’t try to zero your camber gauge on gravel or any bumpy surface. Also, watch out for debris on or divots in your smooth surface. Zero the camber/caster gauge on the floor next to the wheel you want to measure.
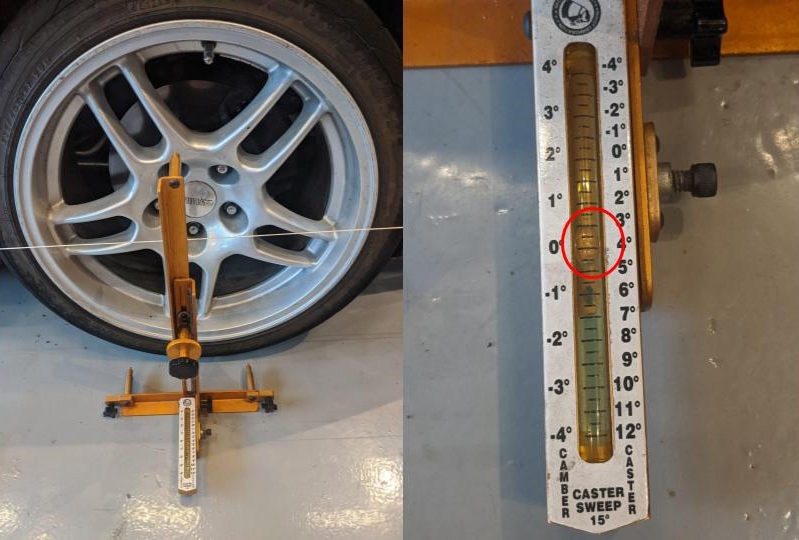
Place the gauge on the wheel. Read where the bubble lands to get your camber measurement. Tips: If you have more camber than the gauge can show you can set your zero to a positive number (positive 2 offset for example). Now you have more range that the bubble can travel, just remember to add back the offset to your camber measurement (-2 degrees).
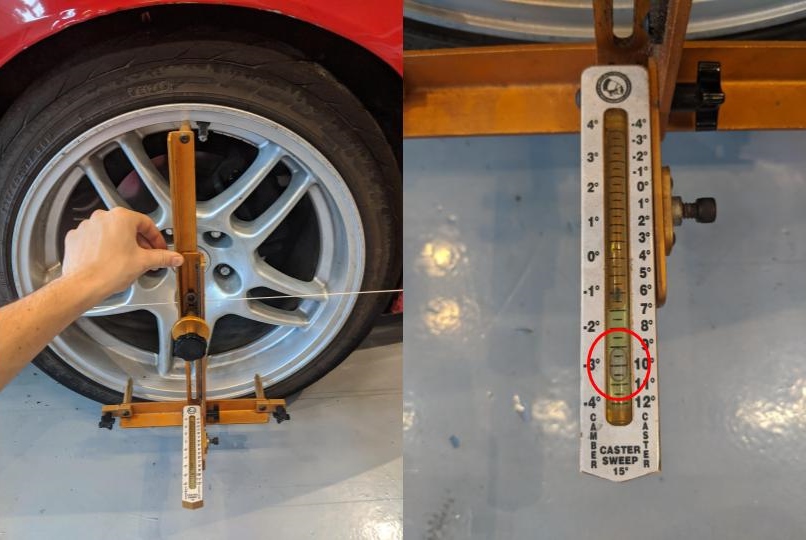
Caster:
To me, the caster measurement is the least concrete of settings. You’re supposed to line up the angled edges of the gauge by eye to a straight reference that is parallel to the centerline of the car.
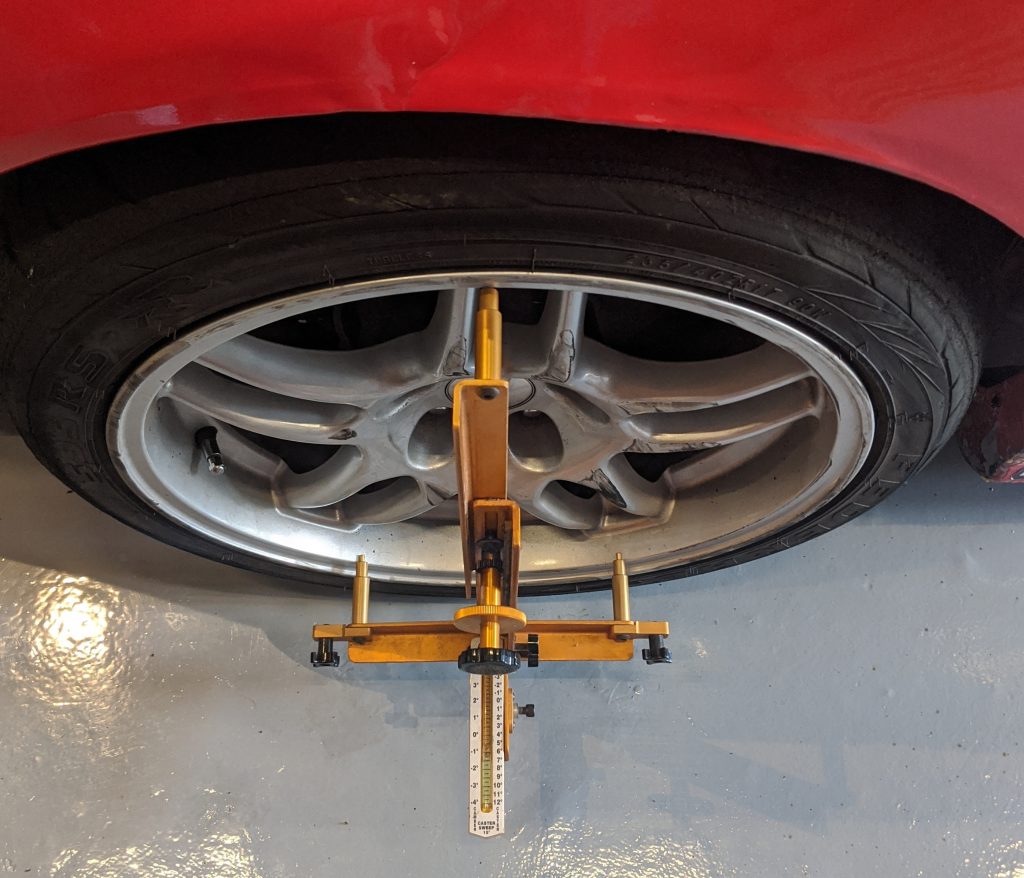
I don’t find this easy to do. I make a reference using strings we layout later in the article. What I do is line up the angled edges on the bottom of the gauge to its reference one time. I find how many turns it took me to line up my references and use that from then on. For this example, let’s assume I found that turning the wheel 1/2 turn lines up the caster gauge and car references.
Place the camber caster gauge on the car. Then turn the wheel 1/2 turn towards the wheel you want to measure from center, and zero the gauge.
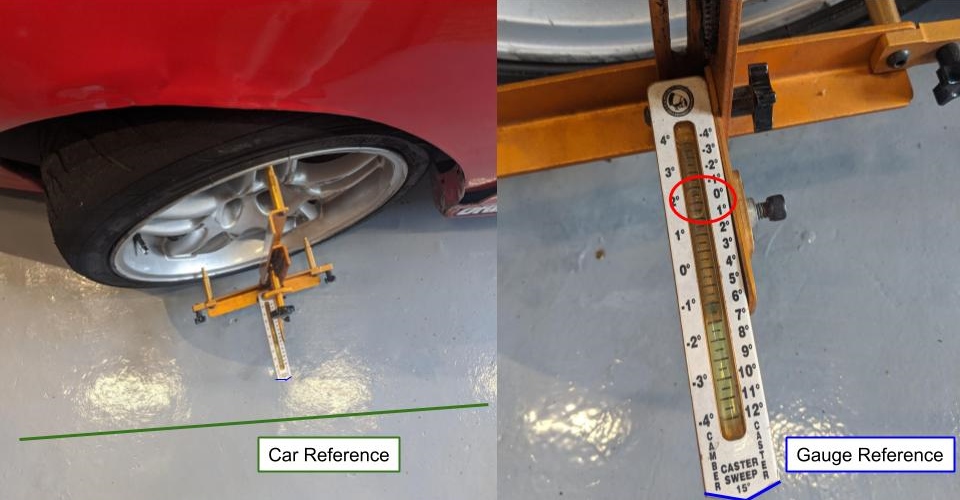
Then turn the wheel 1/2 turn from the center in the other direction to get the caster measurement. It’s not 100% perfect, but as long as the measurements are the same left and right, it’s okay.
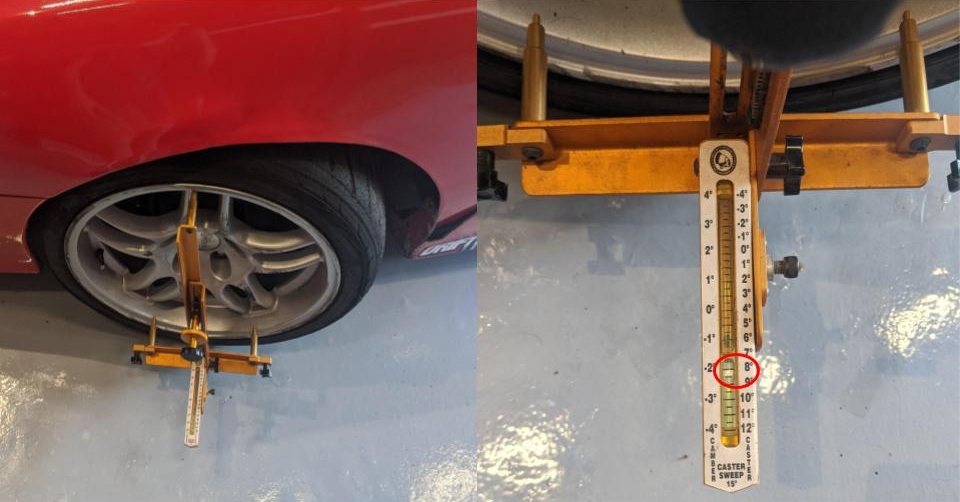
Toe:
We’re almost there, this is the part that takes the most setup. Up until now we really were just working on one wheel at a time (except when we were measuring control arms). Now we want to reference the front of the car to the back of the car so we can make sure the car isn’t dog tracking. Dog tracking is when the car has an excessive thrust angle. This is when the direction of the car’s travel is not in line with the centerline of the car. You’ve probably seen this on an improperly lifted truck at some point. A car with an apparent thrust angle isn’t always a bad thing. Nascar stock cars sometimes have the body mounted skewed on the chassis so the body acts like a wing that pushes the car left. These cars were called “Twisted Sisters” because from some angles the asymmetry was very apparent.

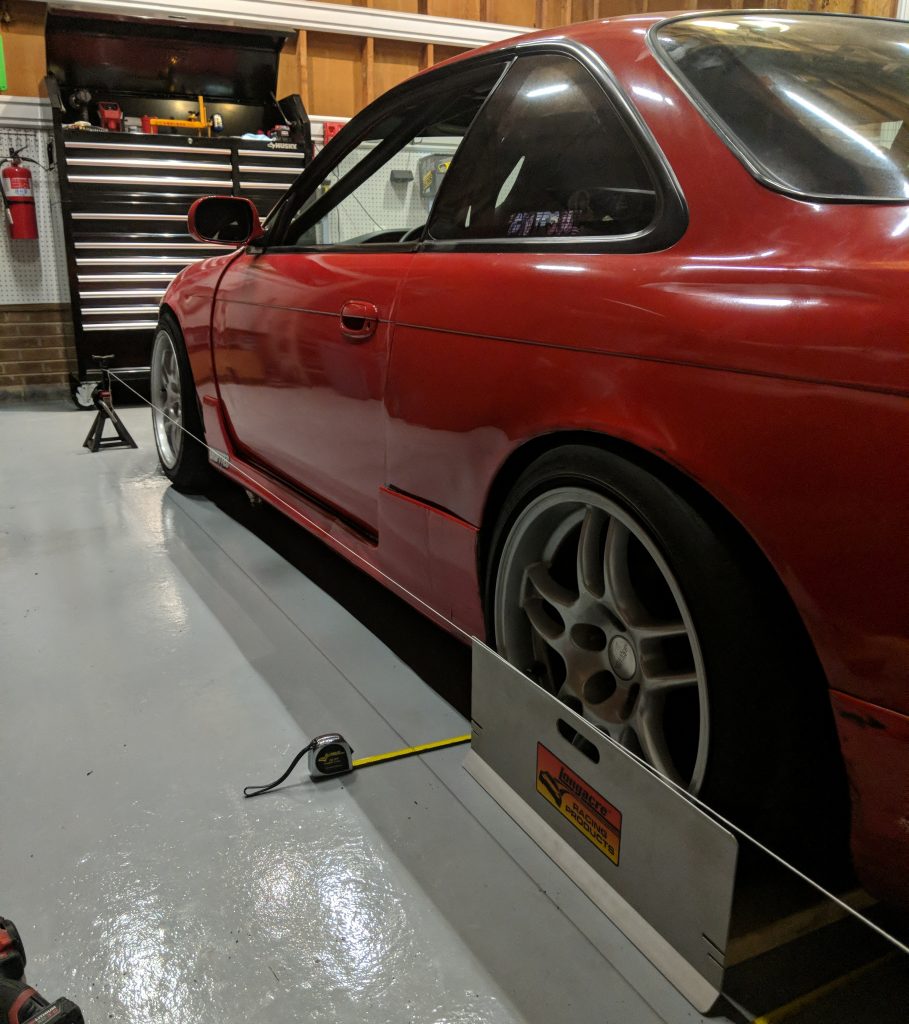
To reference the front of the car to the rear, we run a string along the sides of the car that are parallel with the centerline of the car. We then measure from the string to the front and back of each wheel. If the measurements from one axle are the same on the passenger side wheel and driver side wheel we know that that axle is in line with the centerline of the car.
How do we know where to put the string? We use the wheels to place the string and then use the string to measure the wheels. This is why having equal length control arms and a relatively straight frame is pretty important. The control arm length sets where the wheel goes which in turn sets where the strings go. Note: when your car is laser aligned they also are just using the wheels as a reference so making sure these parts are the same still applies.
First, get a string, tie it around some jack stands and run it next to your car. Get the height of the string equal with the center of the wheel in the front and the back.
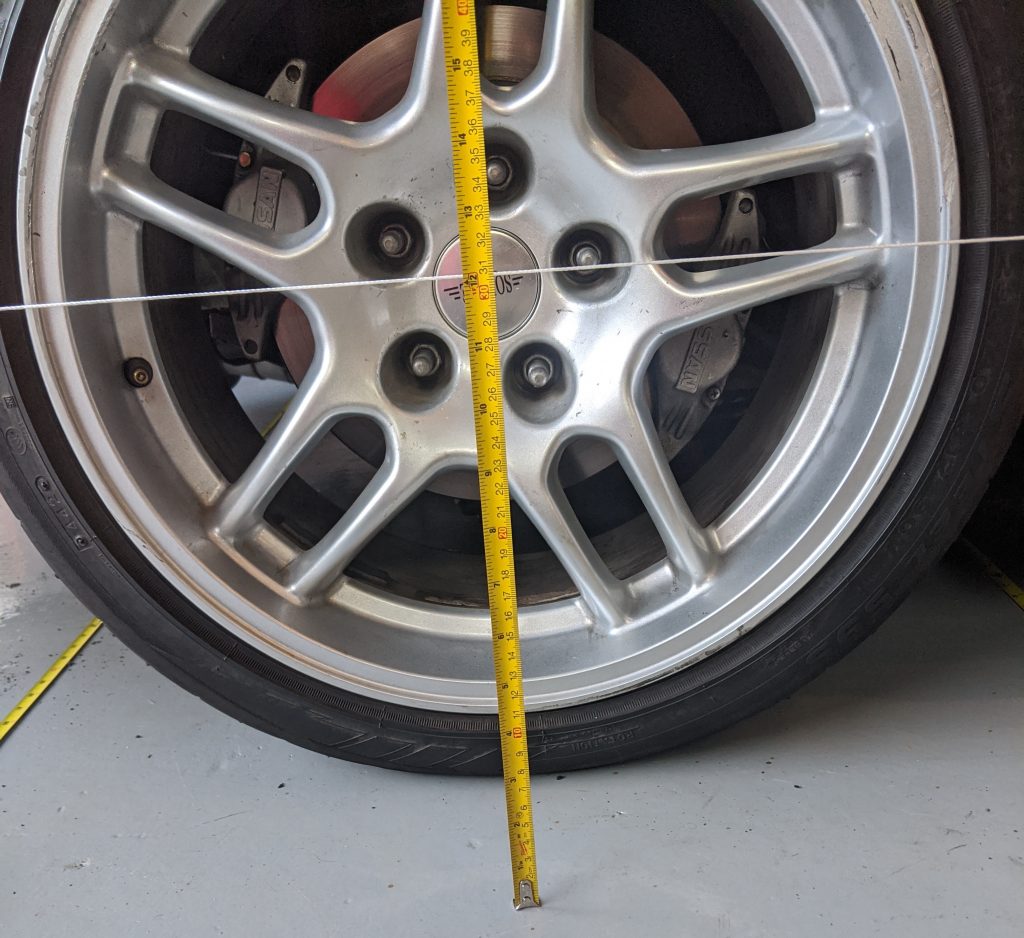
This is an iterative process because changing the front string height changes the back string height.
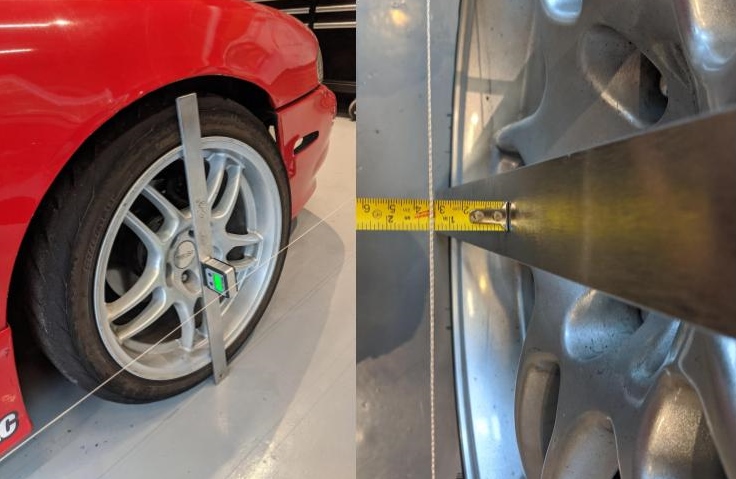
Most of the time the track width is not the same in the front and rear of the car. We need to measure the front and rear track width independently to know how far the string needs to be offset from each wheel to make the strings parallel to the centerline of the car. It’s pretty helpful to have the same wheels on the front and rear for this method. If your wheels are not the same you can use a straight edge on the wheel rather than the centercap seen below.
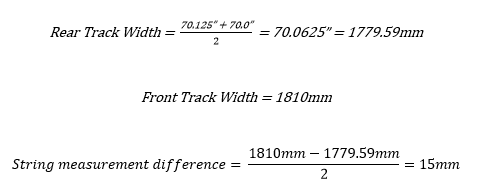
To get the track width on each axle we use the toe plates as if you were going to measure toe. To get the approximate track width, you average of the two toe plate measurements you get from that axle. (I say approximate because camber will make the bottom of the wheel and the toe plate come out a bit at the bottom. I can make a calculator that accounts for this if it’s desired. Edit: I’m going to work on making an interactive worksheet for this).
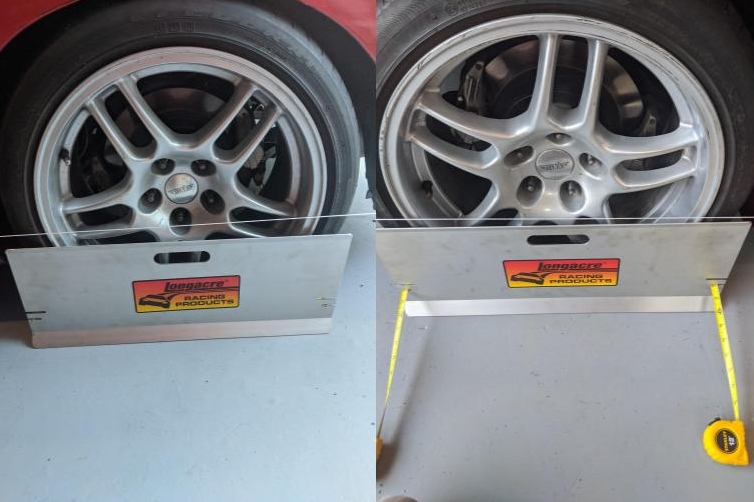
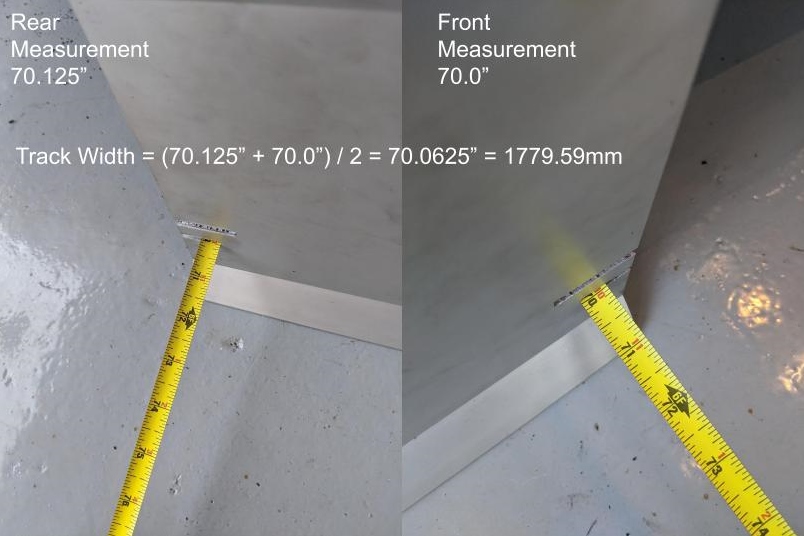
Now take the front and rear track widths, subtract them and then divide that number by 2. This number is the difference in length that you need to measure between the center caps and the string.
Measure from the center of the wheel to the string. Set the string on the other end of the car to the offset that we found above using the difference in track widths. Do this on both sides of the car. This is also an iterative process.
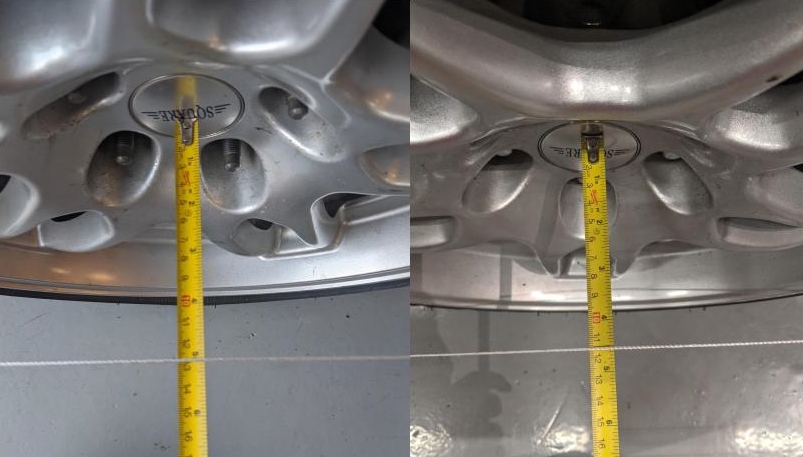
Front wheel offset from the string = 115mm (right)
Once the strings are set you can measure from the front of the wheel to the string and then measure the back of the wheel to the string. Subtract the front measurement from the rear measurement to get that wheels toe. If the toe is the same on the passenger and driver side of the axle you’re working on, that axle is following the centerline of the 4 wheels!
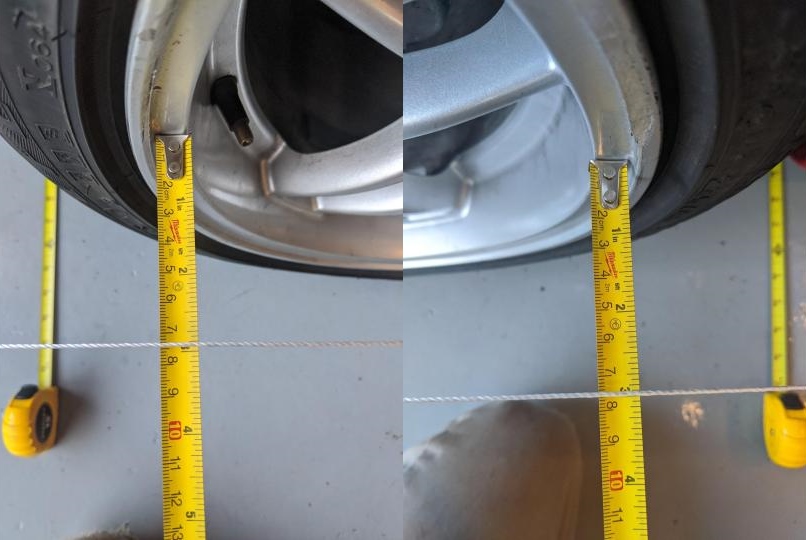
Right rear wheel, front edge measurement = 75mm
74mm – 75mm = -1mm (toe in)
Without using the calculator (that I haven’t made yet) the camber difference between the front and rear may change the track widths enough that the strings don’t show the true toe measurement. The measurement is off relative to the string, but it is off equally on both sides. If you’re not accounting for camber you should get the toe equal on both sides (to center the axle) and then tune in the toe using toe plates to account for any camber error. The calculations to account for this involve trig so I think it’s cleaner to make a calculator in the future.
Notes:
I didn’t focus on how to adjust the suspension because the details are different on every car with different adjustable parts. One note that I would like to make regarding all cars is to make sure that you settle the car before all measurements. Bounce around on the front and rear and more importantly push the car forwards and backwards a few feet a few times. What this does is take any load away that might be binding up the car after adjustment. When you raise and then lower the car, the wheels go up and down but they also move in and out. The tires are basically trying to scrub against your garage floor when you raise and lower your car. That’s why tires will sometimes squeak when the car is being lifted. This scrubbing loads the suspension in ways that the car would not see in normal use. Pushing the car forwards and backwards allows the tire to move a bit to relieve these awkward loads. Adjusting the suspension while the car is on the ground may also do this. This is why laser alignment machines have floating plates that the tires sit on. These allow the tire to move more freely when they scrub. Even on some alignment machines, you need to move the car forwards and backwards a bit. To get around this some people drive the car onto two plates with grease in between them to decrease the friction between the tires and the ground during alignment.
I hope this is helpful. If you have any questions, send me a message.
-Mark
